
New walls & ceilings
Drywall installation for homes, additions, renovations and tenant improvements. Discuss framing readiness, board selection and transitions to existing construction.
Considered walls. Clean transitions. A room ready for what comes next.
New space or a surface that needs attention? Talk to Perkins about hanging, taping and finishing drywall, repairing damaged areas, and coordinating the work that comes before the final coat.
Discuss your drywall projectExplore the approach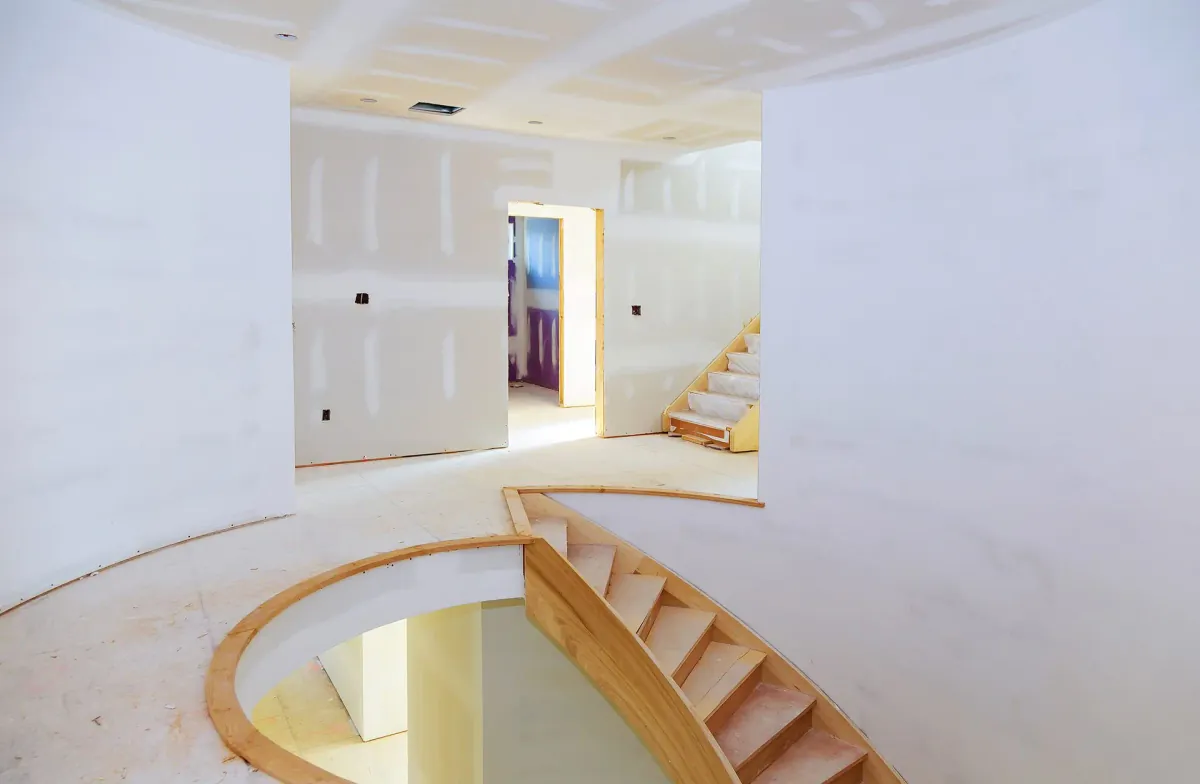 WALLS / CEILINGS / FINISHES
★ 4.8 · 5.0228 Google reviews · Miami 4.8 · Jupiter 5.0
Since 1980FRSA & RCASF member · Polyglass contractor
Meet the Perkins team ↗Drywall Installation & Repair
Start with the change you want to make. The team will review your property, the work involved and the responsibilities needed to move forward.
Drywall installation for homes, additions, renovations and tenant improvements. Discuss framing readiness, board selection and transitions to existing construction.
Cracks, holes and damaged wall or ceiling areas. Start with an assessment of the cause and the extent of the affected material—not just the visible mark.
Smooth finishes, textured surfaces and architectural details. Agree the intended appearance with a sample or reference before finishing begins.
Office, retail and industrial interior projects. Coordinate access, building services and the specified partition or ceiling assembly with the wider construction plan.
After a roof, window or other leak, confirm that the source has been addressed and the area is suitable to close. Specialist assessment may be needed before replacement.
Define the finish level, primer and painting responsibilities. The lighting and selected coating influence how joints, texture and patches will read.
From intention to detail
Explore four decisions that shape the result. The study explains the sequence; it does not specify a wall assembly or replace the project documents.
Prepare
Survey the area, establish the cause of any damage and identify access or protection needs. Discuss specialist evaluation where moisture, suspect materials or building systems are involved.
What to clarifyA scope that addresses the cause as well as the surface.
Install
Board type and installation details belong to the specified system. Coordinate the support, services, openings and any required inspections before work is concealed.
What to clarifyA clear substrate and installation scope before finishing.
Finish
Taping, joint treatment and sanding prepare the surface for its intended finish. Compare samples under the room’s actual lighting and agree how existing textures will be approached.
What to clarifyA shared visual standard—not a vague promise of perfection.
Review
Review transitions, surface appearance and cleanup against the agreed scope. Clarify whether primer, paint, trim and reinstatement are included or handled by another trade.
What to clarifyA documented handoff to the next finish or a completed room.
Your project, clearly defined
Bring photographs and tell the team how the room is used. A site review is needed to confirm the repair approach, scope and estimate.
Discuss your drywall projectPractical answers
Clearer expectations for your property, scope and next step.
Construction advice library ↗New installation, wall and ceiling repairs, water-damage replacement, taping, finishing, textures and custom details for residential and commercial spaces. The team confirms project fit, scope and availability.
Start by identifying the source and assessing the material. A stain alone does not establish what needs replacement. The leak or moisture issue and the condition behind the surface need attention before the finish is restored.
That depends on the type and extent of wetting, contamination, material condition and the assembly. Arrange an on-site assessment; visibly damaged or suspect materials may need specialist evaluation. Do not rely on a photograph to decide what can remain.
Discuss the existing texture, lighting and paint before selecting the repair boundary. A sample helps set expectations. Age and surrounding finishes can make a localized repair visible, so a larger surface may need refinishing.
It defines the intended extent of joint and surface treatment. Agree the required finish in the scope and relate it to the final coating, texture and lighting. The word smooth by itself is not a complete specification.
Do not treat that label as a waterproofing system. The board and any protection must be appropriate for the documented assembly, exposure and manufacturer instructions. Correcting a moisture source remains a separate requirement.
Confirm it in the proposal. Drywall installation and finishing, primer, finish coats, trim and reinstatement can be separate scopes. Ask who is responsible for each step and what condition will be handed over.
Discuss access, dust containment, furniture protection and any temporary restrictions during planning. The team must assess the scope before confirming whether a room or business can remain in use.
The area, substrate condition, access, protection, specified finish, drying conditions and related trades all affect the proposal. Request a written scope with allowances, exclusions and scheduling dependencies rather than a price based on photographs alone.
Send the property location, photographs, affected rooms, any known damage history, your desired finish and preferred timing through the contact form. Do not open a wall or disturb damaged material just to obtain a photograph.
Your next step
Tell Miami or Jupiter what you want to change, where the property is and what matters most to you.
Discuss your drywall projectProject suitability, scope, price and schedule are confirmed after review.
Miami office
305-642-7663 — call the Miami officeMonroe · Miami-Dade · Broward
Jupiter office
561-559-7663 — call the Jupiter officePalm Beach · Martin · St. Lucie
Page updated